摘要 :完成 ISCE2 之后,需要使用 MintPy 进行时序分析,步骤如下:
1. 构建配置文件(.txt) 以下为一个示例:
1 2 3 4 5 6 7 8 9 10 11 12 13 14 15 16 17 18 19 20 21 22 23 24 25 26 27 28 29 30 31 32 33 mintpy.load.processor = isce mintpy.load.metaFile = ../reference/IW*.xml mintpy.load.baselineDir = ../baselines mintpy.load.unwFile = ../merged/interferograms/*_*/filt_*.unw mintpy.load.corFile = ../merged/interferograms/*_*/filt_*.cor mintpy.load.connCompFile = ../merged/interferograms/*_*/filt_*.unw.conncomp mintpy.load.demFile = ../merged/geom_reference/hgt.rdr mintpy.load.lookupYFile = ../merged/geom_reference/lat.rdr mintpy.load.lookupXFile = ../merged/geom_reference/lon.rdr mintpy.load.incAngleFile = ../merged/geom_reference/los.rdr mintpy.load.azAngleFile = ../merged/geom_reference/los.rdr mintpy.load.shadowMaskFile = ../merged/geom_reference/shadowMask.rdr mintpy.load.waterMaskFile = ../merged/geom_reference/waterMask.rdr mintpy.topographicResidual = yes mintpy.network.coherenceBased = yes mintpy.network.minCoherence = 0.3 mintpy.troposphericDelay.method = pyaps mintpy.troposphericDelay.weatherModel = ERA5 mintpy.troposphericDelay.weatherDir = ./weather mintpy.geocode = yes mintpy.geocode.laloStep = 0.0002778
2.运行 直接一次性运行:
1 smallbaselineApp.py config.txt
或者逐个运行(逐个运行不会自动生成最后的可视化结果):
运行第一步:
1 smallbaselineApp.py config.txt --dostep load_data
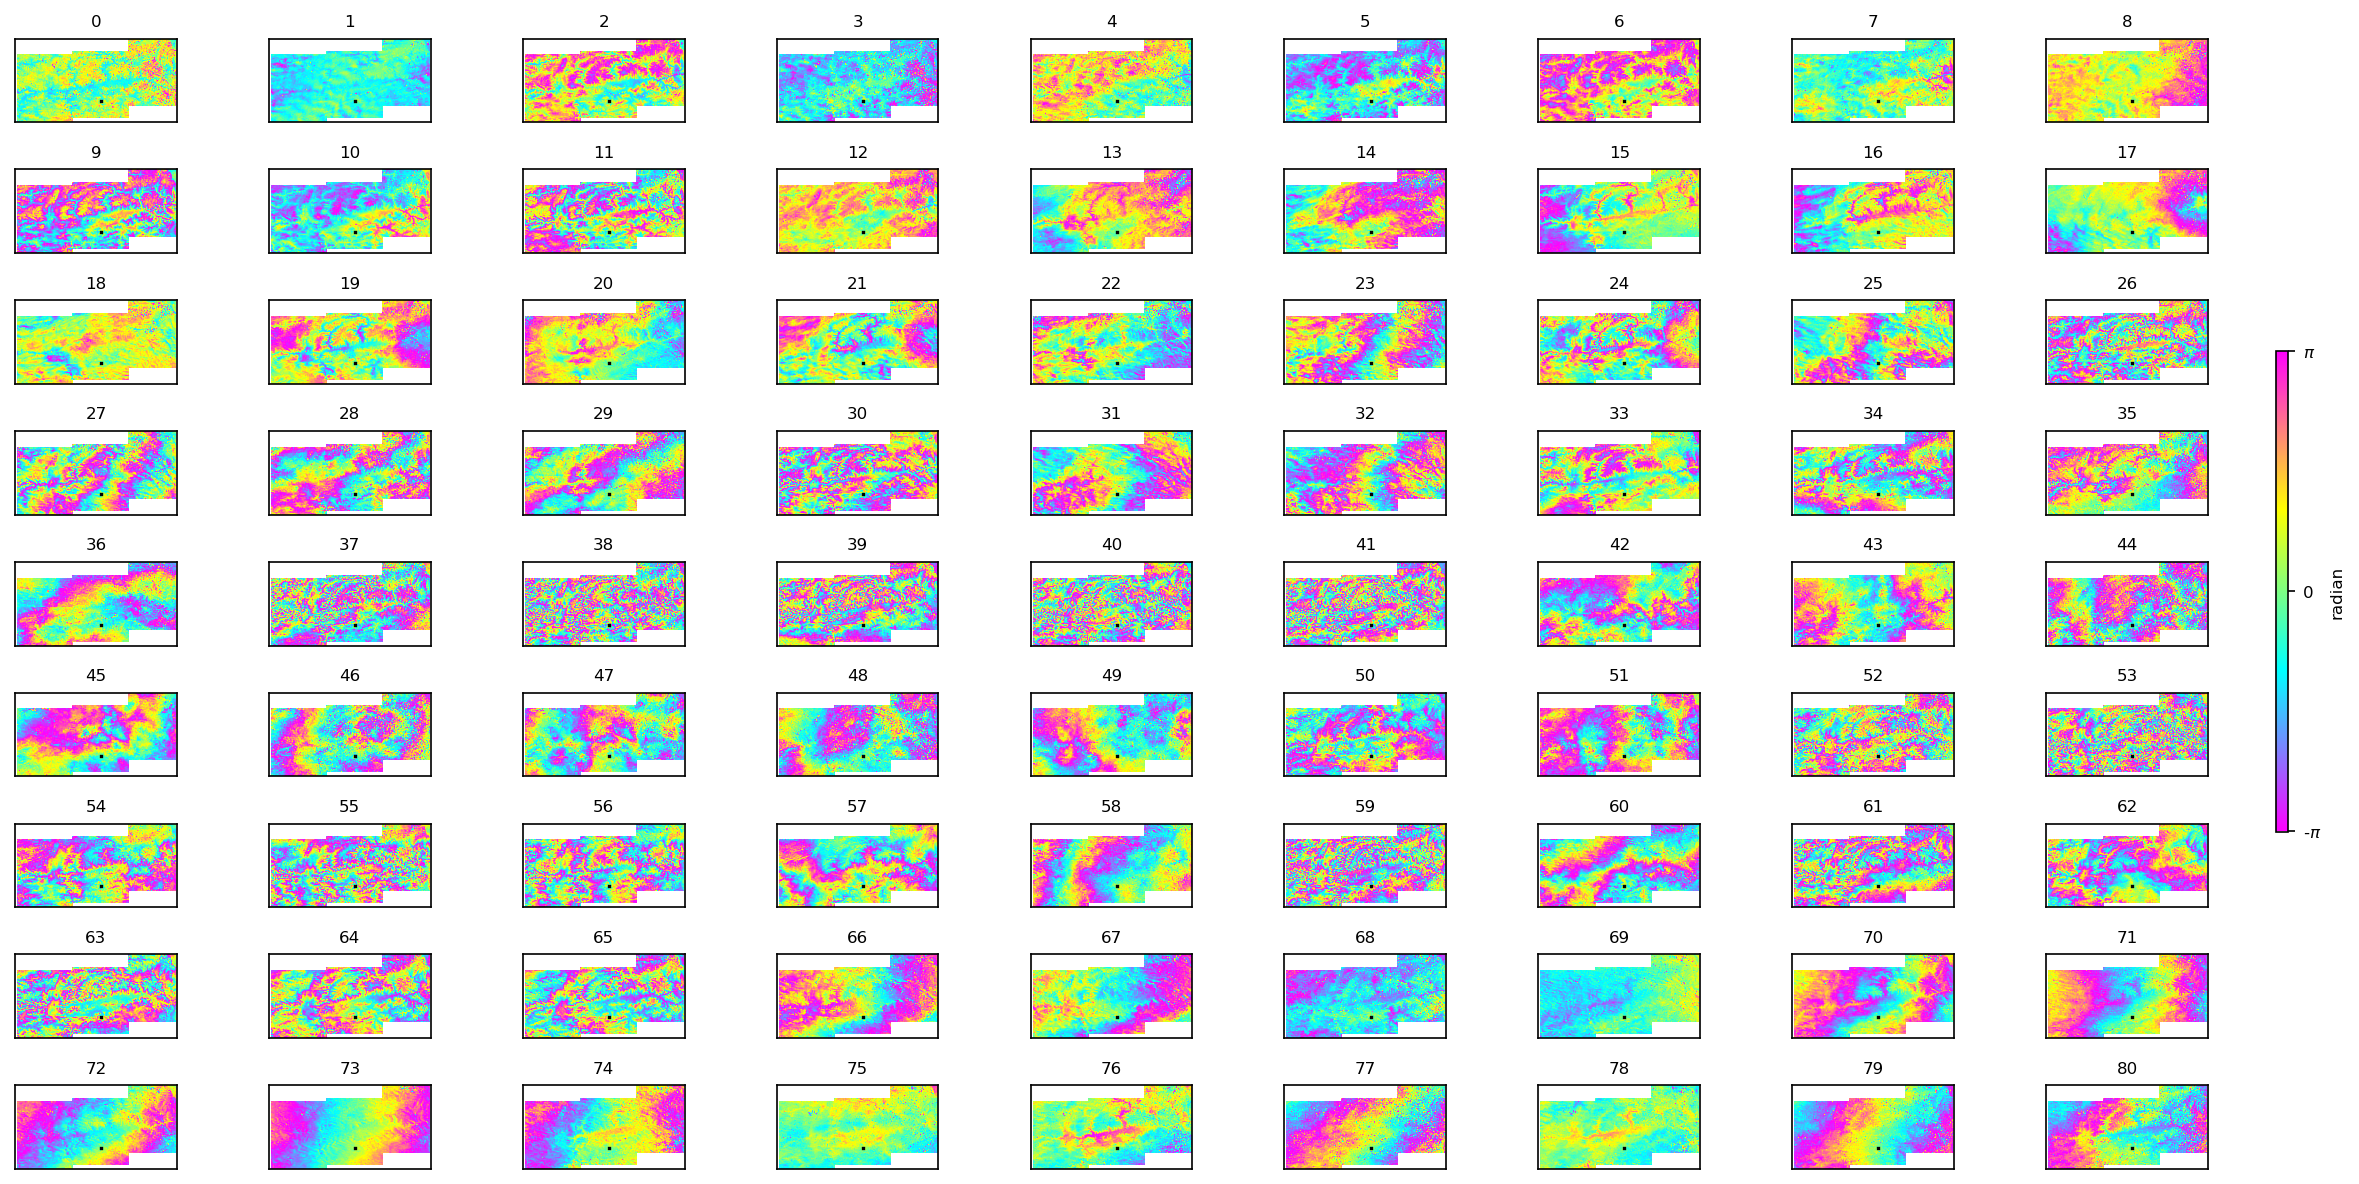
运行结束后,查看 inputs 目录。应生成 geometryRadar.h5 和 ifgramStack.h5。
运行:
1 plot_network.py inputs/ifgramStack.h5
观察干涉图的时空基线分布。
运行第二步:
1 smallbaselineApp.py config.txt --dostep modify_network
运行第三步:
1 smallbaselineApp.py config.txt --dostep reference_point
运行第四步:
1 smallbaselineApp.py config.txt --dostep invert_network
由于配置了 mintpy.troposphericDelay.method = pyaps,程序将自动下载 ERA5 数据。确保当前运行环境已配置 .cdsapirc 文件(CDS API Key)。前往 https://cds.climate.copernicus.eu/ 注册账号,访问个人资料页面,找到 “API key” 区域,复制。前往:/home/用户名,然后在此创建 .cdsapirc 文件,将 url 和 key 粘贴于此。
1
2
3
url: https://cds.climate.copernicus.eu/api key: 你的key
之后在环境中运行:
必要:在首次下载数据前,必须在网页端同意 ERA5 的数据使用条款,否则 API 会报错。在 CDS 网站随便搜索下载一个数据,勾选 “Terms of use” 协议并接受即可。
运行第五步:
1 smallbaselineApp.py config.txt --dostep correct_troposphere
Mintpy 会开始下载气象数据,可能会超时,但是会自动重试。例如:
1 Recovering from connection error [HTTPSConnectionPool(host='cds.climate.copernicus.eu', port=443): Max retries exceeded with url: /api/catalogue/v1/messages (Caused by ConnectTimeoutError(<urllib3.connection.HTTPSConnection object at 0x73aa34605ca0>, 'Connection to cds.climate.copernicus.eu timed out. (connect timeout=60)'))], attempt 1 of 500 Retrying in 120 seconds
运行第六步:
1 smallbaselineApp.py config.txt --dostep correct_topography
运行第七步:
1 smallbaselineApp.py config.txt --dostep velocity
运行第八步:
1 smallbaselineApp.py config.txt --dostep geocode
可选:
1 save_gdal.py geo/geo_velocity.h5 -o geo/velocity.tif
保存 tif 结果



%EF%BC%9AISCE2%20(topsStack).png)